How I Learned to Raise My DIY Game by Building a Chatbot AI Machine Circuit Diagram In this video, I will show you how to use the ChatGPT API on your Raspberry Pi. Full Tutorial: https://pimylifeup.com/raspberry-pi-chatgpt/ChatGPT is an AI c Because, we are going to show you how to run a ChatGPT like model locally on a tiny computer like Raspberry Pi and eventually turn your raspberry Pi into an AI ChatBot server. Well, if you are afraid that you don't have Raspberry Pi. You can try this on any computer: Windows, Linux, or Mac. You non need to stick on the Raspberry Pi.

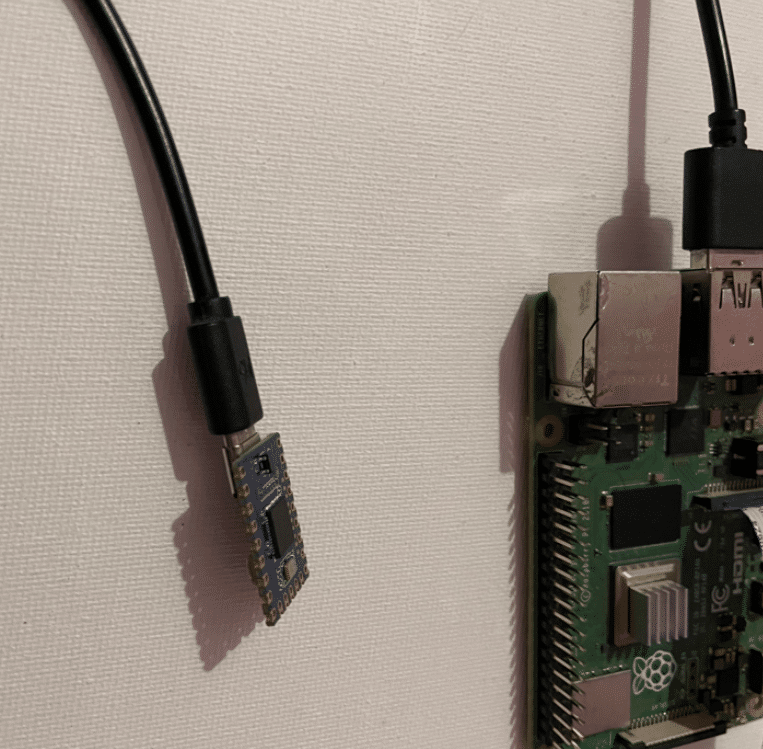
I recommend a Raspberry Pi 4 with at least 4GB of RAM, but a Raspberry Pi 5 would be even better if you can get your hands on one. The more RAM, the better, especially when dealing with AI models. You'll also need an SD card (32GB or larger), a power supply, and a way to connect to the Pi (either a monitor, keyboard, and mouse, or SSH access Unlock the power of artificial intelligence with Raspberry Pi! Whether you're a hobbyist, tech enthusiast, or developer, building an AI bot using Raspberry Pi offers endless possibilities. This guide walks you through the essential steps to create a fully functional AI-powered bot on a Raspberry Pi. We've shown previously that you can run ChatGPT on a Raspberry Pi, but the catch is that the Pi is just providing the client side and then sending all your prompts to someone else's powerful server in the cloud.However, it's possible to create a similar AI chatbot experience that runs locally on an 8GB Raspberry Pi and uses the same kind of LLaMA language models that power AI on Facebook
.webp)
How To Create Your Own AI Chatbot Server With Raspberry Pi 4 Circuit Diagram
In this final section I repeat the llama.cpp setup on the Raspberry Pi 4, then copy the models across using a USB drive. Then I load an interactive chat session and ask "Bob" a series of
In this article, we provide a comprehensive guide on how to create your own local Large Language Model (LLM) chatbot using a Raspberry Pi. This project is perfect for makers, AI enthusiasts, and electronics hobbyists looking to explore the capabilities of AI on a budget-friendly platform. Why Use a Raspberry Pi for AI Projects? The Raspberry Pi Customize a ChatGPT Assistant Using a RaspberryPi 4b, OpenAI, Azure Speech Services, the Azure Voice You Like and Your Description of Its Personality: The Raspberry Pi 4 is a terrific little computer and it has enormous potential for use in all kinds of projects. One project that I was working on involved using it to be an interface for ChatGPT using voice input and audio output. The main goal of this project is to create an interactive, hands-free voice assistant that can have personalized conversations. Objectives of Raspberry Pi Chatbot Project The objective of this project is to: Build a voice-activated chatbot using a Raspberry Pi. Use Google's Speech Recognition API to recognize speech and trigger the chatbot.
