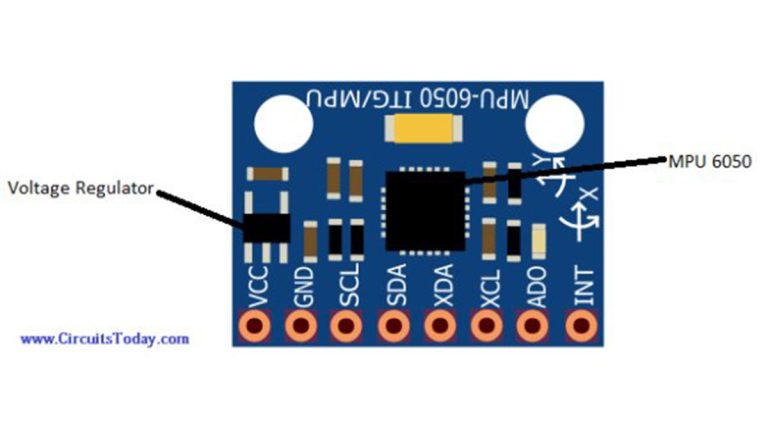
Axis accelerometer connected to the Arduino and the computer Note Circuit Diagram How to use the MPU-6050 accelerometer and gyroscope module with the Arduino board. The MPU-6050 IMU is a 3-axis accelerometer and 3-axis gyroscope sensor.

In this article, we will use an Arduino to get raw sensor data from an accelerometer and convert it into an acceleration value in g's. Watch the video for this tutorial here:

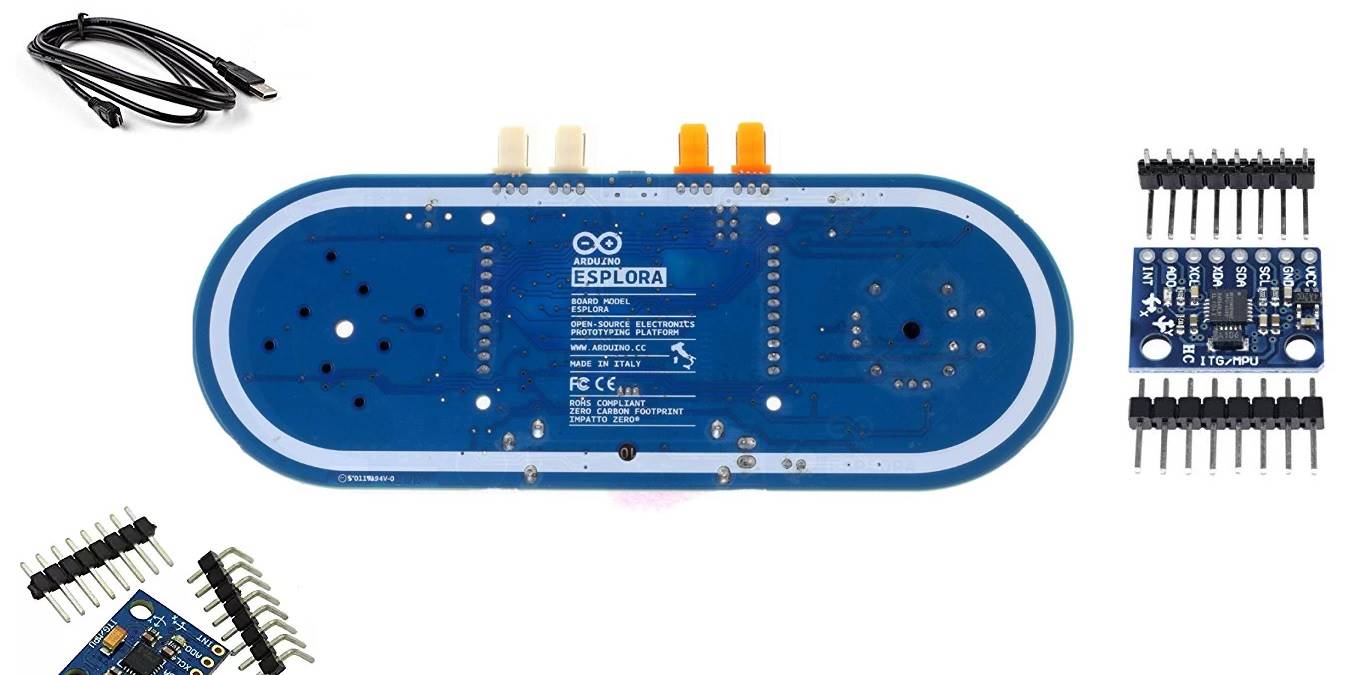
Arduino and MPU6050 Accelerometer and Gyroscope Tutorial Circuit Diagram
Accelerometer Using Arduino 101: Learn how to read Accelerometer Sensor on Arduino 101 and show tilt status on LED. Arduino 101 is good for IOT starters. Having the Intel® Curie™ Module, designed to integrate the core's low power-consumption and high performance with the Arduino's … The accelerometer uses very little current, so it can be plugged into your board and run directly off of the output from the digital output pins. To do this, you'll use three of the analog input pins as digital I/O pins, for power and ground to the accelerometer, and for the self-test pin.
In this tutorial we will learn how to use the MPU6050 Accelerometer and Gyroscope sensor with the Arduino. I will explain how the MPU6050 works and

6050 Accelerometer and Gyroscope Sensor Circuit Diagram
Testing ADXL345 accelerometer Arduino Interfacing Finally, connect the ADXL345 sensor with Arduino UNO properly and upload the code in the Arduino Uno board. Then open Serial monitor and you will see acceleration readings in x, y, z-axis as shown below. Try to move the sensor slowly in all the directions and observe the readings. So this is how an Accelerometer can be used with Arduino UNO to